Is it hard to use a 3D Printer? What kind of projects can I do with one? Learn how to take your skills to the next level.
Table of Contents
Introduction
You have bought a 3D printer, congratulations.
You have managed to assemble it and get it working, you have adjusted it, maybe you have printed the famous boat, Benchy, all set for action, locked and loaded.
Once you reach this step, the honeymoon phase begins, where you use the newly acquired 3D printing capability to print all those things that led you to buy the printer in the first place.
Figures, toys, decorative frames, some tools, and maybe boxes.
There is nothing wrong with using your printer for that, many useful and interesting things come out, and it even saves money, you start to amortize 3D printing.
The problem lies when we stick to the basics of 3D printing and therefore do not reach its full potential, causing us to miss out on the most interesting things.
In this article, we are going to talk about the learning process behind using a 3D printer, and all the projects you can carry out at each stage.
The 3D Printing Learning Curve
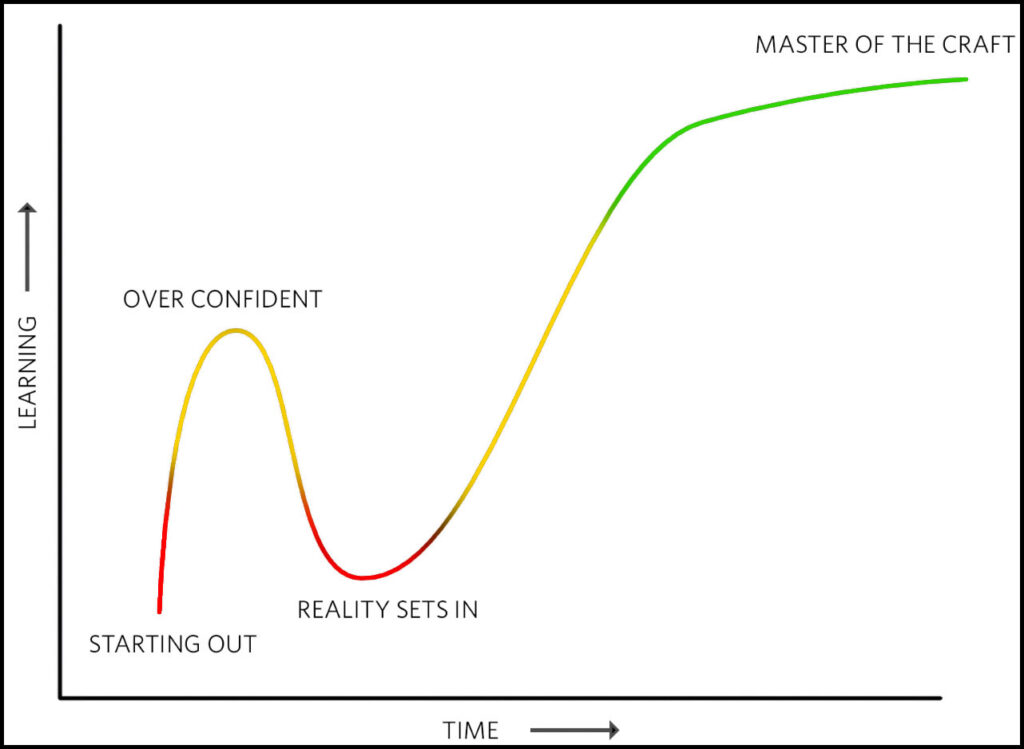
This graph tends to describe very well the learning process of anything, not just using a 3D printer. It also applies to playing a musical instrument, photography, programming…
Every learning process goes through the same stages: Start, overconfidence, reality check, and mastery.
We can even reduce it to three phases: Beginner, Intermediate, Master.
Each of these phases is peculiar, as at the beginning there is a mismatch between our confidence and what we actually know:
I can play the opening riff of Smoke on the Water, here I come Steve Vai.
I can also shoot in black and white, tremble Daido Moriyama.
I think you already know what I mean, before the reality check, inevitable as it is, we will go through this phase.
Once overcome and placed in our place by reality, the eternal process of challenges begins to achieve pieces that fully meet all the evil ideas that cross our minds.
In a way, it is the hero’s journey, you discover a path and embark on it, at first everything is simple and it seems that you will reach your destination very soon.
Until the challenges arrive.
Challenges are interesting and give meaning to the journey; they are the learning process. You find limitations and obstacles that you must overcome, they give meaning to the story.
A process of effort and reward, thanks to which one can grow.
Once everything is overcome, you reach your destination with a new arsenal of skills and the satisfaction of having completed the task.
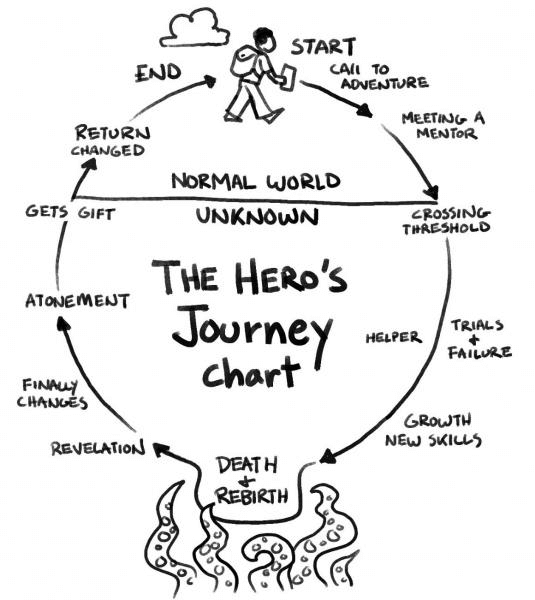
It is the simplified version of the model applied in movies, literature, and video games.
The hero must rescue the princess, and for that, he embarks on a journey. At first, everything seems simple as we start to get to know the character and put ourselves in his shoes.
Then the difficulties begin, and we see his growth firsthand until he reaches the final reward, the princess.
You have lived this journey at some point, maybe without the fantastic elements—life doesn’t have that much magic—but if you think back, you will surely remember similar moments.
3D printing, like anything else, is not much different from the hero’s journey.
These three phases are very marked, as when creating pieces, we get almost instant feedback and can see the results firsthand.
The three levels of learning
Not only have I talked about these phases in this article, but also in others.
However, if there is a place to talk about the phases of a 3D printer user, it is here. Your journey and mine may differ, but we will surely find common points between both.
Let’s start with the beginner phase, which I like to call the honeymoon phase.
Once you buy your first 3D printer, it seems that the most difficult process is the assembly. Once you have assembled your printer, you have finally tamed the beast.
From here, it seems like a bed of roses; there are many models on the internet, and you don’t need to invent anything new.
Everything already exists, right? There is nothing new under the sun, said Ecclesiastes.
This phase can last as long as you want, depending on your tastes and needs.
The truth is that the internet has many things for 3D printing, and it is constantly updating; there is always something newly uploaded.
There is always a good Samaritan who has shared their work, or someone who, for a modest price, is willing to share it with you. After all, good work deserves to be valued.
During the beginner phase, you will mainly make aesthetic things with your 3D printer, objects meant to be decorations with little or no functional purpose. Of course, they will not be designed by you.
Once you have printed a sufficient number of 3D objects downloaded from the internet, you will reach the next step, the intermediate phase.
3D printing is not plug and play; I can’t find everything I need online, not even by paying for it.
At this point, you start to learn about 3D design to create your own simple pieces. These are your first completely customized functional or aesthetic pieces.
You download FreeCAD and start creating. You are at the point where reality has arrived.
Even though challenges begin here, don’t be scared; they are gradual and come in all levels.
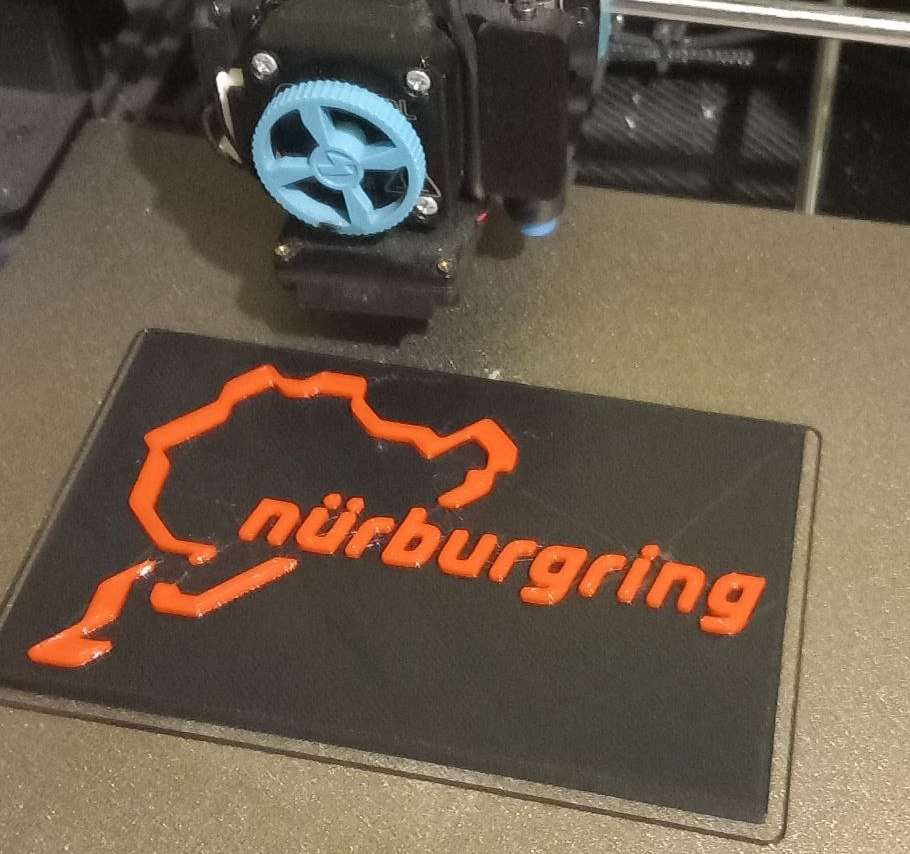
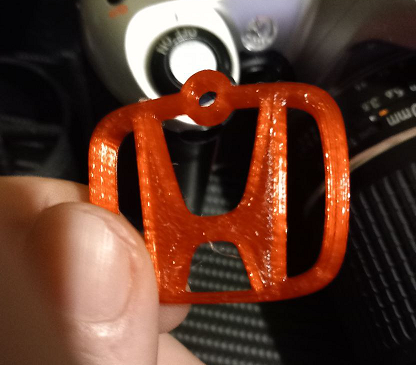
You might decide to make an emblem for your car; it’s a really simple process:
The key to the intermediate level is that you take the reins on your own and start making things customized to your taste.
They don’t have to be complex.
This phase lasts the longest in terms of time; learning software from scratch is more complex than downloading models, but it is also much more rewarding:
You are in the trial and error stage of 3D printing, where you will need to overcome challenges to get the piece you want.
Months will go by, and you will get closer to your goal.
Perhaps this is when you learn to work with new materials and move away from PLA, switching to PETG and ABS with the aim of making your 3D printed pieces durable.
Finally, the long-awaited mastery arrives. When do you reach this level?
When you can design everything that comes to mind with greater or lesser difficulty and make it a reality.
There will always be challenges along the way, as 3D printing is like that, but you can achieve everything you set your mind to.
3d Printing Projects
In this blog, I have talked to you in many articles about my 3D printing projects, the difficulties and challenges they have presented, and how I have been able to solve them.
In this small ranking, I will give you 9 ideas for interesting projects, some of which are mine, and others from third parties.
I consider a 3D printing project to be anything that can be printed, whether it is more or less complex.
I will not make distinctions between functional or aesthetic; the mentioned projects will be ordered by difficulty.
The first being the easiest and the last the most complex.
Remember that the goal is to master the learning curve and aim as high as possible towards that mastery, always enjoying the process along the way.
1st Project: Keychains
Level: Begginer
Practically everyone carries several keychains with us, and depending on the person, several sets of keys: Home, work, car.
We will almost always need to have a keychain, as an ornament, a display of personal tastes, and above all, as an easy way to know what each set of keys belongs to.
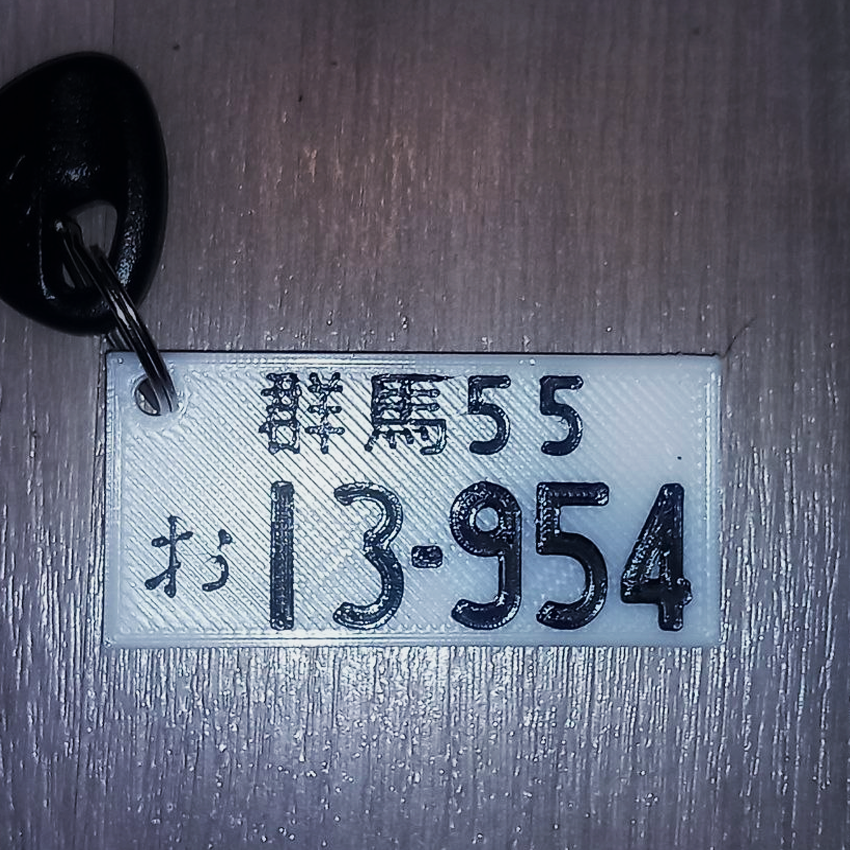
You can find tons of them online, so you won’t even need to design your own if you don’t want to.
2nd Project: Chess set
Level: Begginer
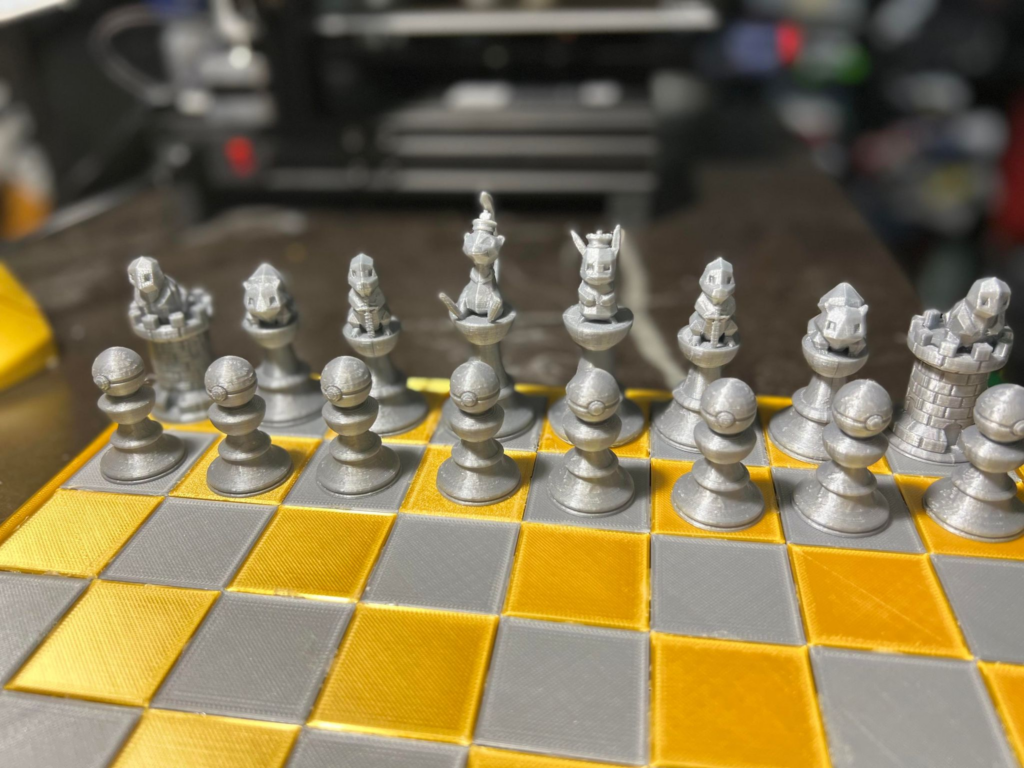
As I have said before, just because something is aesthetic doesn’t mean it is simple; there are things with a great visual impact.
I found this Pokémon chess set on Thingiverse some time ago.
It’s free and an absolute marvel.
Thanks to 3D printing and the author of this model, I was able to make a magnificent gift for a 7-year-old girl with an interest in Pokémon and chess.
Zero cost, maximum creativity, impact of 10/10.
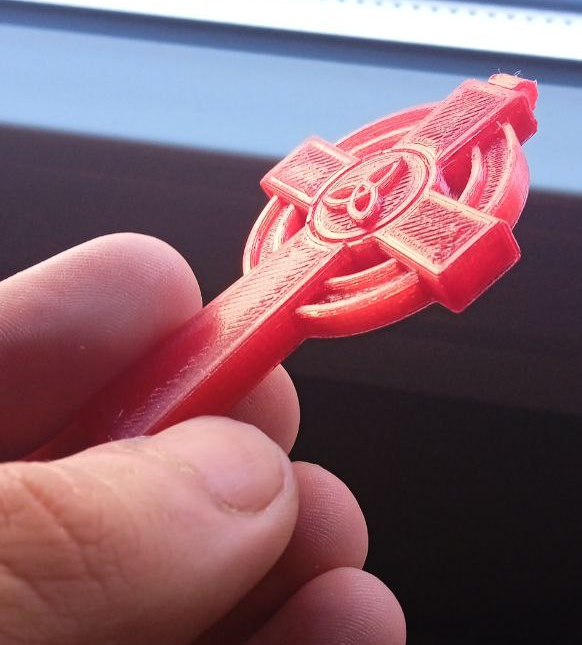
3rd Project: Props
Level: Begginer
Since I was a child, I have been completely in love with the saga of The Longest Journey.
I won’t go into many details to avoid spoiling what might be the best graphic adventure story ever told. (Play it)
There is a specific character named Crow; he is a talking crow who assists several characters in the saga as a sidekick.

That’s why one of the first 3D printing models I downloaded was this crow from Thingiverse.
This way, I can have Crow in my office.
If you don’t know or don’t like this saga, you can decorate your house with other themes, for example, with Thing from The Addams Family.
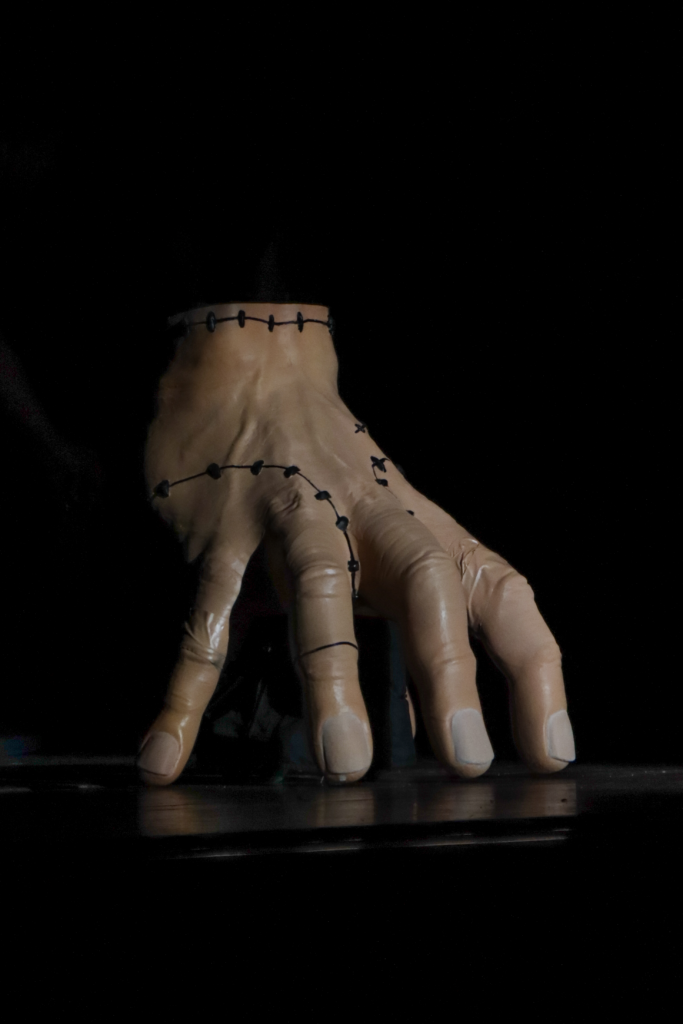
In this case, the key is that there is decoration for all tastes; practically everything is available on the internet.
4th Project: Tools
Level: Begginer
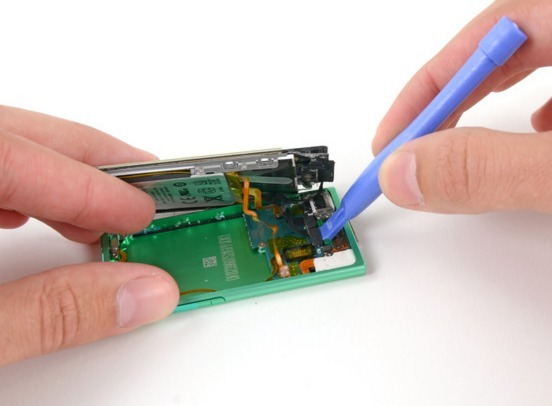
There are many tools that can be printed in plastic. Additionally, since they are self-made, we don’t have to worry about them breaking; thanks to 3D printing, we can make as many as we want.
One of the most useful tools are those that can be used to pry between plastics and remove them. This is especially handy if you dismantle mobile phones.
You can find this set of tools here.
5th Project: Hubcaps / Centre caps
Level: Intermediate
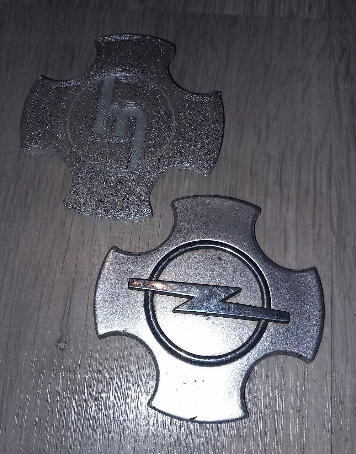
The intermediate level involves starting with customization and adapting your own needs and bringing them to reality.
It can be functional or aesthetic, but it will usually fulfill both purposes.
An example of this is personalized hubcaps. I’ve already told you the story of my infamous Opel wheels on my Mazda MX-5.
By making my own hubcaps, I was able to remove the Opel logo.
Maybe your case doesn’t involve changing wheels for those from another model, but with a bit of creativity, you can customize them and give them a new life.
In general, this applies to any plastic component of your vehicle. The key to 3D printing is personalization.
Thanks to just this one piece, I was able to save hundreds of euros compared to buying the OEM wheels.
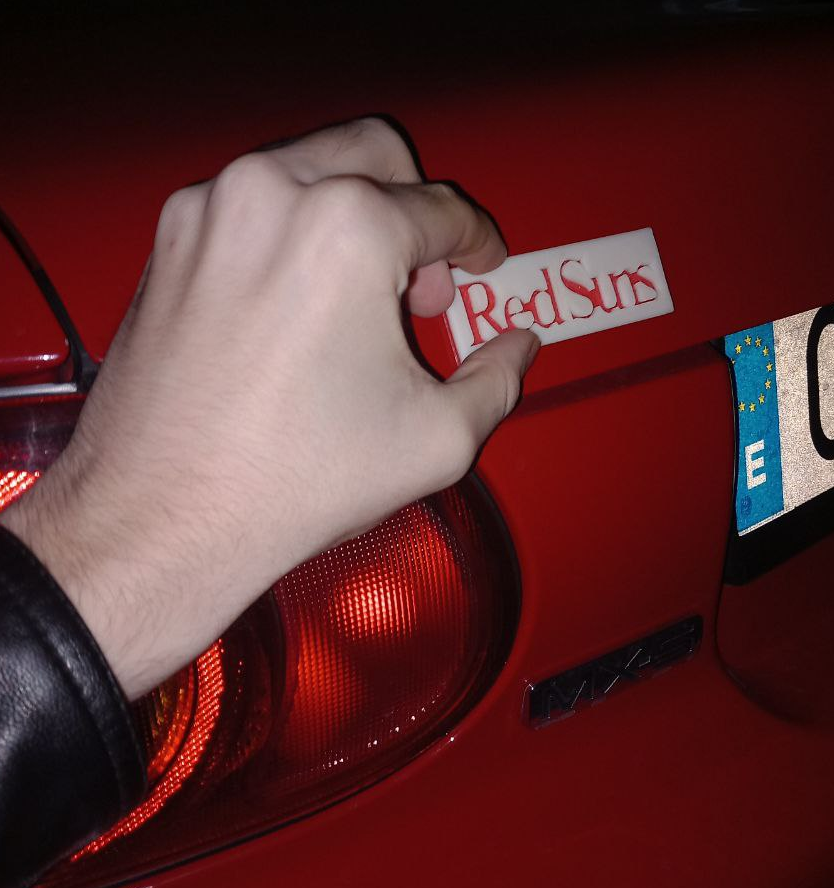
6th Project: Custom Emblems
Level: Intermediate
Earlier, I showed you a Red Suns emblem, one of the teams featured in the manga and anime Initial D.
With this emblem, I have turned something intermediate into beginner-level, as I designed it myself and uploaded it online, making it accessible without the need to know how to design.
The truth is that these are easy pieces within the design realm, and you can make as many as you want in a short time.
They provide an interesting layer of customization, whether for a car or to decorate anything else.
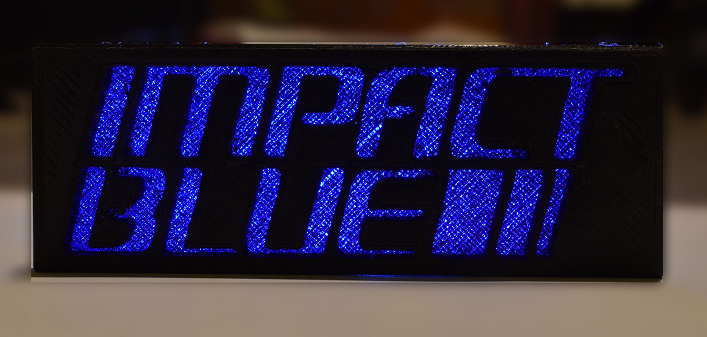
Continuing with the Initial D theme, this is an Impact Blue emblem that I made to see if it would look good on my car. (Spoiler: it didn’t).
7th Project: A 3d printed guitar?
Level: Intermediate-Advanced

The fabrication of musical instruments has almost always been managed by experienced luthiers and companies dedicated to this craft.
There have always been people who applied the do-it-yourself philosophy, working with wood in their workshops to replicate these types of instruments.
With 3D printing, you can take it a step further and print your own guitar body. Along with a Stratocaster neck and good electronics, you can have a quality musical instrument.
Before sharing the link with you, let me give you a piece of advice that no one has applied yet.
If you want to make this guitar, buy active electronics, such as EMG pickups, instead of traditional passive pickups.
Active electronics compensate for poor body resonance and provide a clean sound with good sustain.
Passive electronics penalize poor resonance, destroying the tone that this type of electronics can offer.
I have seen many people who have made and designed guitars using 3D printing without knowledge of this aspect.
In this case, it’s a project you can design from scratch; the complication lies in the assembly, not in the design itself.
If you want to design your own guitar, you just need to follow the scale principles to properly tune the bridge and ensure all notes sound good.
The guitar shown as an example is a Telecaster created by Prusa, and you can download it here.
For the 3D print to be successful, you will need the hardware and neck of a Fender Telecaster or similar, which you can find on eBay and Thomann.
Of course, if you are willing to print and assemble this model, you can also customize it by modifying its STL files.
8th Project: The Iconic Simpsons’ Tv
Level: Intermediate-Advanced
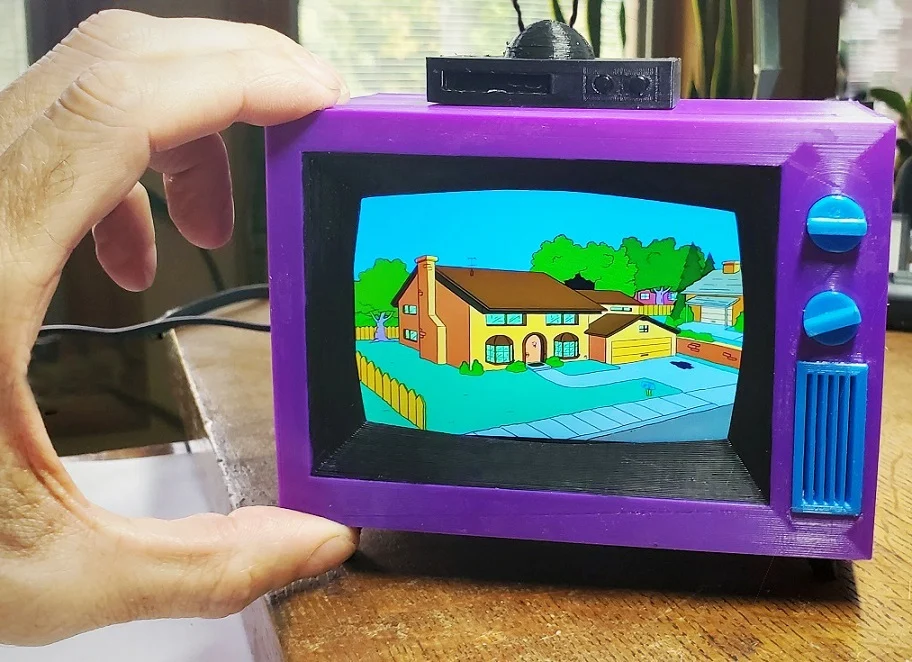
Perhaps this project, along with the previous one, is one of the few high-level ones that can be downloaded online.
Using a Raspberry Pi, a screen, and some speakers, you can make a small replica of the TV that has accompanied everyone’s favorite family for so many years.
Since it is already designed, the level of complexity is reduced to an intermediate category.
However, you will need electronics knowledge to assemble the entire set in a functional manner.
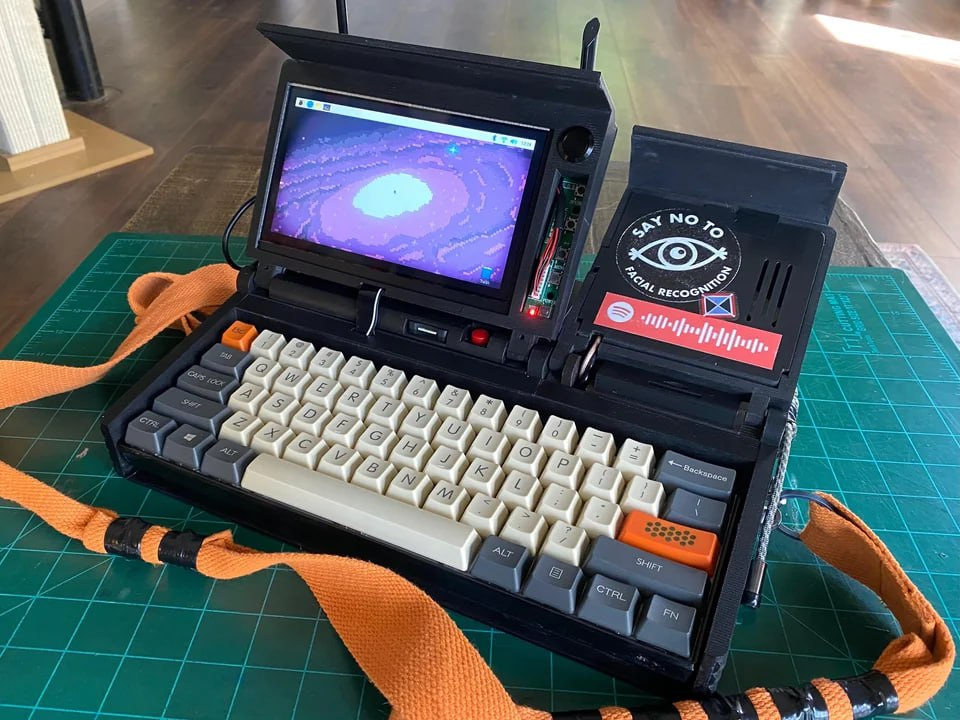
9th Project: Cyberdeck, a custom Cyberpunk DIY Laptop.
Level: Master
When advanced 3D printing merges with technology and hardware knowledge, very interesting things can be created.
A cyberdeck, as described in science fiction literature, is a computing unit or terminal to which one connects with a neural interface.
As you can imagine, technology hasn’t reached that point yet.
But inspired by these concepts, many people create their own 3D-printed terminals and laptops.
Here, the difficulty lies in the design, and I speak from experience, as I am currently trying to design my own laptop using this concept as inspiration.
At the hardware level, it is simple and almost plug and play. You will only need a Raspberry Pi, battery, keyboard, and screen.
You can acquire this for approximately €120 on Amazon, much less if you buy it from China.
The advantage of these types of devices is that you can make them to your exact specifications.
You can include the hardware you want and the design you like the most.
On one hand, you can connect almost anything to a Raspberry Pi, receivers and transmitters of all kinds.
On the other hand, with 3D printing, the sky is the limit.
In the case of the model I take as my main inspiration, the key for me is that it is easy to transport and can also be built with reinforcements to make it very robust.
The aesthetics are another plus. It transports you to another era, a cyberpunk world where technology has taken a different direction.
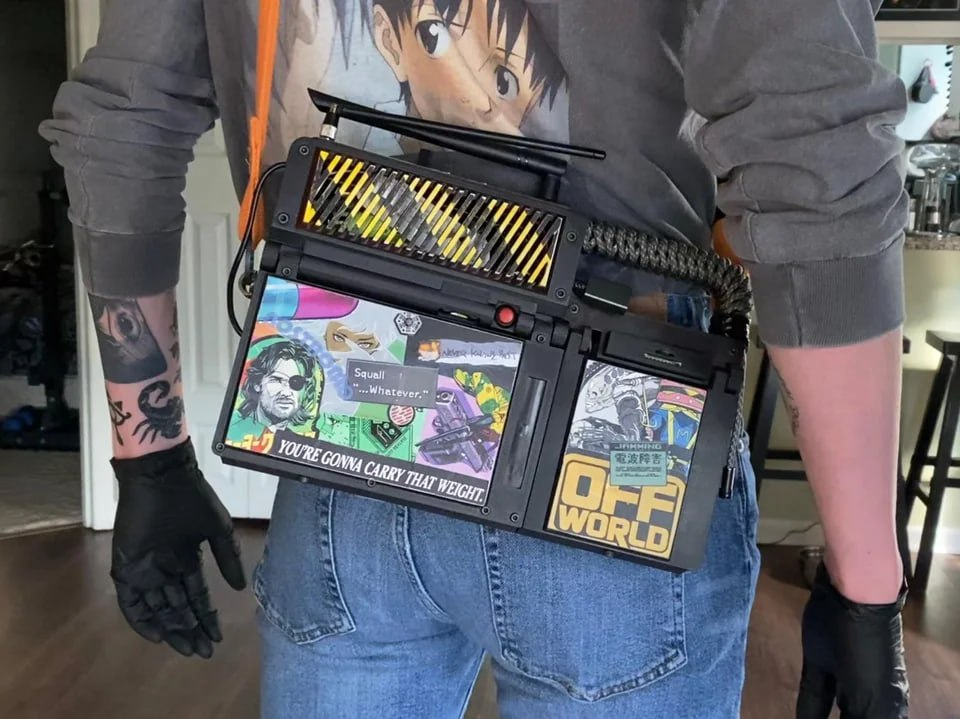
Here is another example for those who like to have something less portable but much simpler aesthetically speaking.
In this case, customization and aesthetics are key.
You can create whatever you want, and it will not go unnoticed.
Conclusion
There are all kinds of projects that can be done with varying levels of complexity. Even though we can categorize 3D printing into three levels, each level has its own depths.
In other articles, I have talked to you about parts you can print for your car, or how I have saved hundreds of euros, headaches, and time using my 3D printer.
The truth is that you can find a multitude of models and ideas to print and develop on the internet.
As such, there is no bad project to undertake, only projects that may interest you more or less.
There are more complex and less complex ones, although as such, difficulty doesn’t exist, only the skill acquired over time through the hero’s journey.
Currently, I am working on project number 9, which is taking me on a long and dense journey of learning, both in terms of hardware and designing a complex object.
As I acquire more skills, I also come up with better ideas for the future and explore all the possibilities that 3D printing opens up for me.
1 comment
Comments are closed.